
Brother sewing machines are renowned for their versatility, durability, and user-friendly design, offering a wide range of models for beginners and experienced sewists alike.
1.1 Overview of Brother Sewing Machines
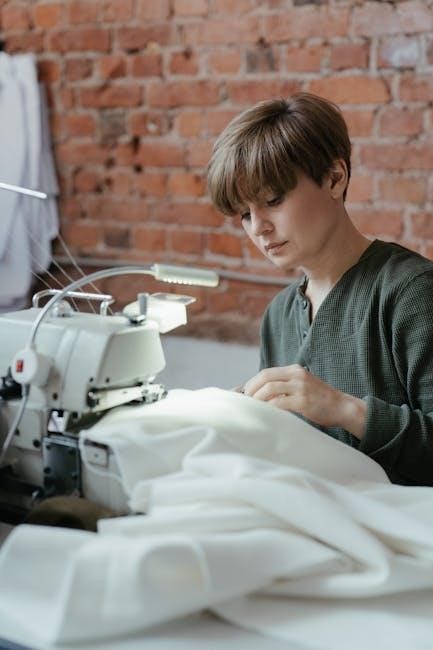
Brother sewing machines are highly regarded for their reliability and versatility, catering to both beginners and experienced sewists. With a wide range of models, from basic mechanical machines to advanced computerized ones, Brother offers solutions for various sewing needs. These machines are known for their ease of use, durable construction, and innovative features. Many models come with built-in stitches, embroidery capabilities, and programmable functions, making them suitable for crafting, quilting, and everyday sewing projects. Brother also provides extensive tutorials and support, ensuring users can maximize their machine’s potential. Whether you’re creating garments, home decor, or intricate embroidery, Brother sewing machines are designed to deliver professional-quality results with minimal effort. Their user-friendly designs and comprehensive guides make them an excellent choice for anyone looking to enhance their sewing skills.
1.2 Importance of Tutorials for Beginners
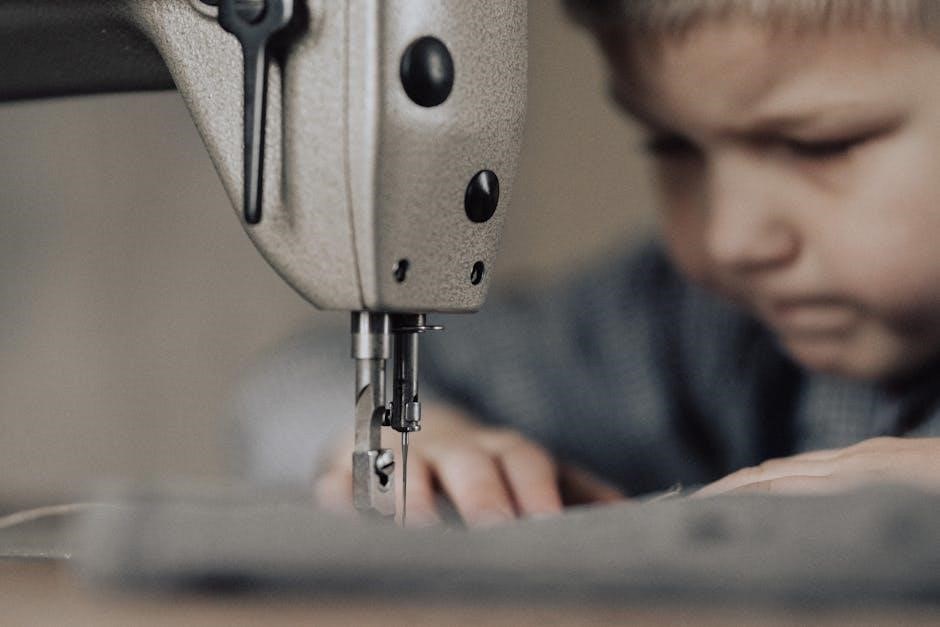
Tutorials are essential for beginners to master the basics of using Brother sewing machines. These guides provide step-by-step instructions, helping new users understand machine setup, threading, and basic stitching techniques. Video tutorials, in particular, offer visual clarity, making complex processes like bobbin installation and thread management easier to grasp. By following these resources, beginners can overcome initial challenges and build confidence in their sewing skills. Tutorials also highlight common pitfalls to avoid, ensuring a smoother learning experience. Additionally, they introduce users to advanced features gradually, allowing them to progress at their own pace. With comprehensive support from Brother, including online tutorials and manuals, new sewists can quickly become proficient and enjoy creating their projects. These resources are invaluable for transforming sewing novices into skilled crafters.
Basic Machine Setup and Preparation
Unboxing and initial setup involve carefully inspecting the machine and its accessories. Plugging in the machine and completing basic assembly ensures it’s ready for operation. Winding the bobbin is essential.
2.1 Unboxing and Initial Setup
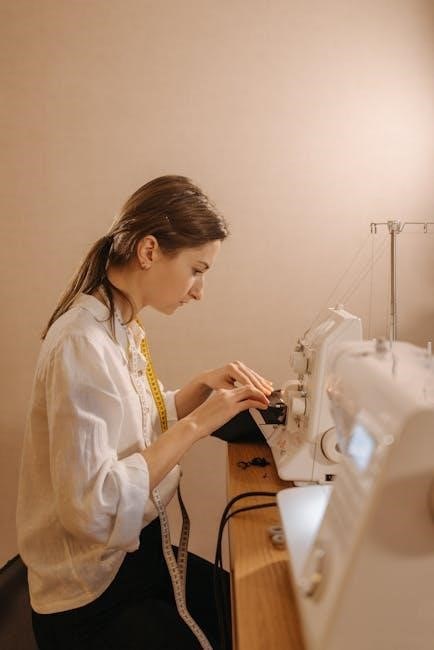
Unboxing your Brother sewing machine is an exciting first step. Carefully remove the machine from its packaging and inspect for any damage. Ensure all accessories, such as bobbins, needles, and the power cord, are included. Place the machine on a stable, flat surface. Refer to the diagrams on the machine or the manual for guidance. Brother machines often feature labeled parts, making setup intuitive. Attach any additional components, like the sewing table or extensions, if provided. Familiarize yourself with the machine’s layout, such as the spool pins, tension dials, and stitch selectors. Ensure all parts are securely locked or attached before proceeding. While the process is straightforward, taking the time to properly set up your machine ensures smooth operation. Once unboxed and prepared, you’re ready to plug in and start exploring its features.
2.2 Plugging in the Machine
Once your Brother sewing machine is unboxed and placed on a stable surface, locate the power cord. Insert one end of the cord into the designated power inlet on the machine, usually found on the right or back side. Plug the other end into a nearby electrical outlet. Ensure the outlet is not overloaded and avoid using extension cords or power strips for optimal performance. Before turning the machine on, double-check that the cord is securely connected to both the machine and the wall. Brother sewing machines are designed to operate on standard household power, making setup straightforward. Always refer to your machine’s manual or manufacturer guidelines for specific electrical requirements. Properly plugging in your machine ensures safe and efficient operation.
2.3 Installing the Needle
To install the needle on your Brother sewing machine, start by turning off the machine and unplugging it for safety. Locate the needle clamp, usually found near the presser foot. Loosen the needle clamp screw using the screwdriver provided. Carefully remove the old needle by pulling it straight out. Take the new needle and insert it into the needle clamp, ensuring the flat side faces the correct direction (check your manual for specifics). Tighten the screw firmly but avoid over-tightening, which could damage the machine. Once secure, test the needle by gently pulling it to ensure it’s properly seated. Proper needle installation is crucial for smooth stitching and optimal performance. Always handle the needle with care to avoid injury.
Threading the Machine
Threading a Brother sewing machine is straightforward, thanks to clear diagrams on the machine. Ensure proper tension by following the guide for both upper and bobbin threading.
3.1 Upper Threading Process
The upper threading process for Brother sewing machines is designed to be simple and efficient. Start by turning on the machine and locating the spool pin. Place the thread on the spool pin, ensuring it is secure. Gently pull the thread through the machine’s tension discs, guiding it through each specified groove and hook. Follow the illustrated guide on the machine for accurate placement. Insert the thread into the take-up lever and then through the needle’s eye. Leave a small loop at the end to prevent the thread from pulling too tightly. Always refer to the machine’s built-in diagrams or user manual for visual guidance. This step ensures smooth stitching and proper tension, essential for high-quality sewing results.
3.2 Bobbin Threading Techniques
Properly threading the bobbin is crucial for smooth sewing. Start by cutting a length of thread and inserting it into the bobbin. Ensure the thread is seated correctly in the bobbin’s notch. Hold the end of the thread and gently wind it around the bobbin in the direction indicated by the machine’s arrows. Once full, trim the excess thread close to the bobbin. Insert the bobbin into the machine’s bobbin case, aligning it with the case’s opening. Pull the thread gently to ensure it is seated properly. Refer to the machine’s built-in diagrams or user manual for precise guidance. Tutorials often emphasize this step to prevent errors. Always test the thread tension by sewing a few stitches on scrap fabric before starting your project. This ensures even stitching and avoids common issues.
Winding and Installing the Bobbin
Winding the bobbin correctly ensures smooth stitching. Place the thread on the spool pin, pull it through the machine’s tension guide, and wind it evenly onto the bobbin.
4.1 Winding the Bobbin Correctly
Winding the bobbin is a crucial step for smooth sewing. Start by placing the thread on the spool pin and pull it through the machine’s tension guide. Gently wind the thread around the bobbin, ensuring it is evenly distributed. Use the automatic bobbin winder if available, or wind manually by turning the handwheel. Avoid overfilling the bobbin, as this can cause threading issues. Once full, cut the thread and remove the bobbin. Always check the thread for tangles or twists before installing it. Proper winding ensures consistent stitching and prevents machine errors. Follow the manufacturer’s guidelines for the best results.
4.2 Installing the Bobbin
Installing the bobbin is a straightforward process that ensures proper thread flow. Open the bobbin compartment, usually located on the front or side of the machine. Gently place the wound bobbin into the slot, aligning the thread with the machine’s guide. Close the compartment securely to lock it in place. Pull the thread gently to ensure it is seated correctly. Some models may have a small notch or arrow to guide the thread. Always refer to your specific Brother model’s instructions for any unique features. Proper installation ensures smooth stitching and prevents issues like uneven tension or thread breakage. Keep the bobbin compartment clean and free of debris for optimal performance. This step is essential for achieving professional results in your sewing projects.
Sewing Functions and Techniques
Brother sewing machines offer a variety of stitching options, including straight stitches, backstitch, and embroidery, catering to both basic and advanced sewing projects with precision and ease.
5.1 Straight Stitch Sewing
The straight stitch is the most basic and essential stitch on Brother sewing machines, perfect for beginners. It is commonly used for sewing straight lines, repairing tears, and joining fabric edges. To use the straight stitch, select the appropriate stitch option on your machine, typically labeled as “Straight Stitch” or represented by a straight line icon. Ensure the machine is properly threaded and the bobbin is installed correctly. Place your fabric under the needle, aligning the edge with the machine’s guide. Gently press the foot pedal or use the start/stop button to begin sewing. Maintain steady control over the fabric as it moves smoothly under the needle. This stitch is ideal for lightweight fabrics like cotton and is a fundamental skill for any sewing project. Regular practice will help you achieve consistent results.
5.2 Backstitch Function
The backstitch function on Brother sewing machines is a essential feature for reinforcing seams, especially at the beginning and end of stitching. It is particularly useful for heavy-duty fabrics, denim, and projects requiring extra durability. To use the backstitch, locate the reverse stitch button or lever on your machine, typically marked with a “U-turn” or backstitch symbol. Press or engage this feature before starting to sew, and the machine will automatically sew a few reverse stitches. This ensures strong and secure seam starts and finishes. For thicker materials, some Brother models allow adjusting the length of the backstitch for optimal results. Always refer to your machine’s manual for specific instructions, as the process may vary slightly between models. Regular use of the backstitch function will enhance the professionalism of your sewing projects.
5.3 Basic Embroidery Stitches
Brother sewing machines offer a variety of basic embroidery stitches that are perfect for adding decorative elements to your projects. These stitches include the straight stitch, satin stitch, and outline stitch, each designed for specific embroidery effects. The straight stitch is ideal for outlining designs, while the satin stitch fills in large areas with a smooth, shiny finish. The outline stitch is great for creating bold, defined lines. Many Brother models, like the Brother Innovis 1250, come with built-in embroidery functions and tutorials to guide you through these stitches. To get started, ensure your machine is set to embroidery mode and select the desired stitch. Use the touchscreen or buttons to adjust stitch length and width for customization. Practice on scrap fabric before working on your final project to achieve the best results. Brother’s embroidery tutorials and guides, often included with the machine, provide step-by-step instructions to master these stitches.
Maintenance and Care
Regular maintenance ensures your Brother sewing machine operates smoothly. Clean the machine, oil moving parts, and replace worn components to extend its lifespan and performance.
6.1 Cleaning the Machine
Regular cleaning is essential to maintain your Brother sewing machine’s performance. Use a soft brush to remove lint and debris from the bobbin area, tension discs, and stitch plate. Avoid harsh chemicals; instead, gently wipe surfaces with a dry cloth. For internal cleaning, refer to your machine’s manual or official Brother tutorials, which often include step-by-step videos. Proper maintenance ensures smooth operation, prevents thread breakage, and extends the machine’s lifespan. Always unplug the machine before cleaning to avoid accidents. By following these simple steps, you can keep your Brother sewing machine in optimal condition for years of reliable use.
6.2 Oiling and Lubrication
Oiling and lubrication are crucial for maintaining the smooth operation of your Brother sewing machine. Regular lubrication prevents friction between moving parts, ensuring longevity and optimal performance. Most Brother models require occasional oiling, but always refer to your machine’s manual to confirm specific needs, as some computerized or embroidery models may differ. Use only Brother-approved sewing machine oil to avoid damaging internal components. Turn off and unplug the machine before applying a few drops of oil to the designated areas, such as the bobbin hook race or internal gears. After oiling, run a few test stitches to distribute the lubricant evenly. For detailed guidance, consult Brother’s official tutorials or instructional videos, which provide step-by-step instructions tailored to your machine model. Proper lubrication ensures your Brother sewing machine runs smoothly and efficiently.
6.3 Replacing Parts
Replacing parts on your Brother sewing machine is essential for maintaining its performance and longevity. Always use genuine Brother replacement parts to ensure compatibility and quality. Start by turning off and unplugging the machine for safety. For common replacements like needles or bobbin hooks, refer to the user manual or official Brother tutorials for guidance. Remove the old part by following the machine’s specific disassembly instructions, then carefully install the new part, ensuring it is securely fastened. For more complex components, consider consulting Brother’s step-by-step instructional videos or contacting authorized service centers. Proper alignment and tightening are crucial to avoid damage. After replacing a part, test the machine with a scrap fabric to ensure smooth operation. Regular replacement of worn parts prevents mechanical issues and keeps your Brother sewing machine running efficiently.
Troubleshooting Common Issues
Brother sewing machines are reliable, but occasional issues arise. Troubleshooting common problems like thread jams, bobbin errors, and tension issues can be addressed with guided tutorials and manuals.
7.1 Resolving Thread Issues
Thread issues are common but easily fixable with the right approach. Start by checking the upper thread for proper seating in the machine’s tension discs. Ensure the thread path is correctly followed, as incorrect threading can cause breaks or uneven stitching. If the thread keeps breaking, inspect for visible damage or tangles. For loops or puckering, adjust the tension settings—both upper and bobbin—to achieve balance. Brother machines often feature diagrams on the body to guide threading. Using high-quality thread suitable for your fabric type can also prevent issues. If problems persist, refer to Brother’s official tutorials or manuals for detailed troubleshooting steps. Regular maintenance, like cleaning lint buildup, can further prevent thread-related problems. Always ensure the needle is appropriate for the thread and fabric combination. By addressing these factors, you can resolve most thread issues efficiently.
7.2 Fixing Bobbin Errors
Bobbin errors can disrupt your sewing process, but they are often simple to resolve. Start by removing the bobbin and checking for any lint or debris in the bobbin area, as this can cause improper rotation. If the bobbin isn’t seated correctly, gently remove it and reinsert it, ensuring it clicks into place securely. Improper threading of the bobbin can also lead to issues; rethread it by pulling the thread through the bobbin’s tension slot. If the bobbin doesn’t spin smoothly, check for loose thread or tangles. Brother machines often feature a bobbin case with adjustable tension, which may need fine-tuning. Consult the user manual or Brother’s online tutorials for specific guidance on your model. Regularly cleaning and maintaining the bobbin area can prevent future errors. Always ensure the bobbin is wound correctly and matches the machine’s specifications for optimal performance.
7.3 Adjusting Tension Problems
Tension issues are common in sewing machines, but they can be easily addressed. Start by checking the upper thread tension dial, ensuring it’s set appropriately for the fabric type. If stitches are uneven or loose, slightly tighten the dial. For tight stitches, loosen it gradually. Next, inspect the bobbin tension; a too-tight bobbin can cause puckering or thread breakage. To adjust, use the small screw on the bobbin case, turning it clockwise to tighten or counterclockwise to loosen. Always test the tension by sewing a scrap fabric sample. Brother machines often feature automatic tension settings, but manual adjustments may still be needed. Refer to the user manual or Brother’s online tutorials for specific guidance on your model. Proper tension ensures smooth stitching and prevents fabric from dragging or bunching during sewing. Regular checks and adjustments maintain optimal machine performance.

Advanced Sewing Techniques
Master advanced sewing techniques with Brother machines, such as sewing zippers, creating buttonholes, and exploring embroidery features. These skills enhance your projects and expand creative possibilities.
8.1 Sewing Zippers
Sewing zippers is a fundamental advanced technique that can elevate your projects, from bags to garments. Brother sewing machines offer specialized feet and settings to make this process seamless. Start by aligning the zipper teeth with the fabric edge, ensuring accuracy. Use a zipper foot for precise control, as it allows the needle to glide smoothly beside the zipper. Select a straight stitch or a specialized zipper stitch for clean results. Backstitch at the beginning and end for durability. For invisible zippers, use a Teflon foot to prevent sticking. Practice on scrap fabric to perfect alignment and tension. Online tutorials and Brother’s built-in guides provide step-by-step instructions. Mastering zipper installation enhances both functionality and professionalism in your sewing projects.
8.2 Sewing Buttonholes
Sewing buttonholes is a crucial skill for completing garments and accessories. Brother sewing machines offer automated buttonhole functions, making the process efficient and precise. Start by selecting the buttonhole setting on your machine, which varies by model but often includes options like automatic and custom sizes. Use a buttonhole foot to guide the fabric accurately. Place the fabric with interfacing for stability, aligning the buttonhole position. Sew a few practice buttonholes on scrap fabric to ensure proper tension and alignment. For manual buttonholes, use a zigzag stitch, sewing forward and backward to create the hole. Always backstitch at the start and end for durability. Brother machines often include built-in guides or tutorials for perfect results. Mastering buttonholes enhances the professionalism of your sewing projects, whether for clothes, bags, or home decor.
Mastering your Brother sewing machine opens doors to endless creative possibilities. From basic stitching to advanced embroidery, Brother machines are designed to make sewing accessible and enjoyable for all skill levels. By following the tutorials and guides provided, you can confidently navigate setup, threading, maintenance, and various sewing techniques. Regular practice and proper care will extend the life of your machine and enhance your sewing experience. Brother’s user-friendly designs and comprehensive resources ensure that you have the tools needed to achieve professional results. Whether you’re crafting garments, home decor, or gifts, your Brother sewing machine is a reliable partner in bringing your ideas to life. Happy sewing!