Title
1.1. “Rip Van Winkle: A Timeless Tale of Sleep and Transformation”
Washington Irving’s Rip Van Winkle is a captivating short story from The Sketch Book, blending folklore and fantasy. Set in the Catskill Mountains, it follows Rip, a kind but idle man, who encounters magical beings after drinking a mysterious potion. His 20-year sleep transforms him, reflecting themes of time, change, and societal evolution. The tale’s enduring appeal lies in its vivid imagery and exploration of human nature, making it a cornerstone of American literature. Irving’s mastery of storytelling weaves a spellbinding narrative that continues to enchant readers, offering insights into identity and the passage of time.
Rip Van Winkle is a timeless tale of magic and transformation, set in the Catskill Mountains, exploring themes of time and societal change through Rip’s captivating journey.
2.1. Brief Overview of the Story
Rip Van Winkle, a short story by Washington Irving, tells the tale of a kind but lazy man who lives in the Catskill Mountains during the 18th century. After wandering into the mountains, Rip encounters mysterious men and drinks a magical potion, causing him to sleep for 20 years. Upon waking, he finds his village transformed, and he must adapt to a new world. The story explores themes of time, identity, and societal change, blending folklore with Irving’s masterful storytelling. It remains a cornerstone of American literature, captivating readers with its timeless charm and universal themes.
2.2. Historical Context of the Short Story
Rip Van Winkle is set in the Catskill Mountains during the late 18th century, reflecting post-American Revolution tensions and Dutch colonial influences. Washington Irving wrote the story in 1819, a time when American identity was evolving. By blending folklore with historical elements, Irving created a tale that resonated with a nation seeking cultural roots. The story highlights the clash between traditional Dutch values and the changing political landscape, offering a nostalgic yet critical view of America’s past. This historical backdrop enriches the narrative, making it a significant work in early American literature;
2.3. Importance of the Story in American Literature
Rip Van Winkle holds a pivotal place in American literature, marking Washington Irving’s contribution to the nation’s cultural identity. The story blends folklore, humor, and social commentary, influencing later writers like Nathaniel Hawthorne. Its enduring appeal lies in its exploration of themes such as identity, time, and transformation, resonate across generations; The tale’s legacy is evident in its adaptations and its role in shaping American folklore, making it a cornerstone of literary studies and a testament to Irving’s enduring impact on the country’s literary heritage. Its influence remains profound, ensuring its continued relevance today.
Washington Irving (1783–1859) was a pioneering American writer, best known for his short stories like Rip Van Winkle. His works blended humor, imagination, and cultural insight, influencing American literature and introducing European Romanticism to U.S. readers. Irving’s distinctive style and timeless tales continue to captivate audiences, solidifying his legacy as a foundational figure in American literary history.
3.1; Biography of Washington Irving
Washington Irving, born on April 3, 1783, in New York City, was a renowned American author, historian, and diplomat. He grew up in a large family and developed a passion for literature early in life. Irving studied law but soon turned to writing, gaining fame with his humorous essays and short stories. His most famous works, such as Rip Van Winkle and The Legend of Sleepy Hollow, were published in The Sketch Book. Irving’s writing often blended folklore, humor, and American identity, making him a foundational figure in American literature. He passed away on November 28, 1859.
3.2. Irving’s Role in American Folklore
Washington Irving played a pivotal role in shaping American folklore by blending European traditions with local settings. His timeless tale, Rip Van Winkle, became a cornerstone of American cultural identity, weaving Dutch folklore into the Catskill Mountains. Irving’s stories captured the essence of the supernatural and the nostalgic, creating enduring characters that resonate with readers. Through his work, he popularized American folklore, setting a foundation for future writers. His ability to craft relatable, fantastical narratives established him as a key figure in the nation’s literary heritage, ensuring his stories remain relevant across generations.
3.3. The Sketch Book and Its Significance
The Sketch Book, authored by Washington Irving, holds immense literary significance as it introduced iconic tales like Rip Van Winkle to the American audience. First published in 1819, the collection blended European folklore with American settings, creating a unique cultural bridge. The book not only established Irving as a foundational figure in American literature but also popularized short stories as a genre. Its enduring appeal lies in its ability to weave fantasy and history, making it a timeless classic. The availability of Rip Van Winkle in PDF format ensures its accessibility to modern readers, preserving its legacy for future generations.

Plot Summary
Rip Van Winkle, a kind but idle villager, escapes his nagging wife by venturing into the Catskill Mountains. There, he encounters magical beings, drinks a potion, and sleeps for twenty years, waking to a transformed world.
4.1. Setting: The Catskill Mountains in the 18th Century
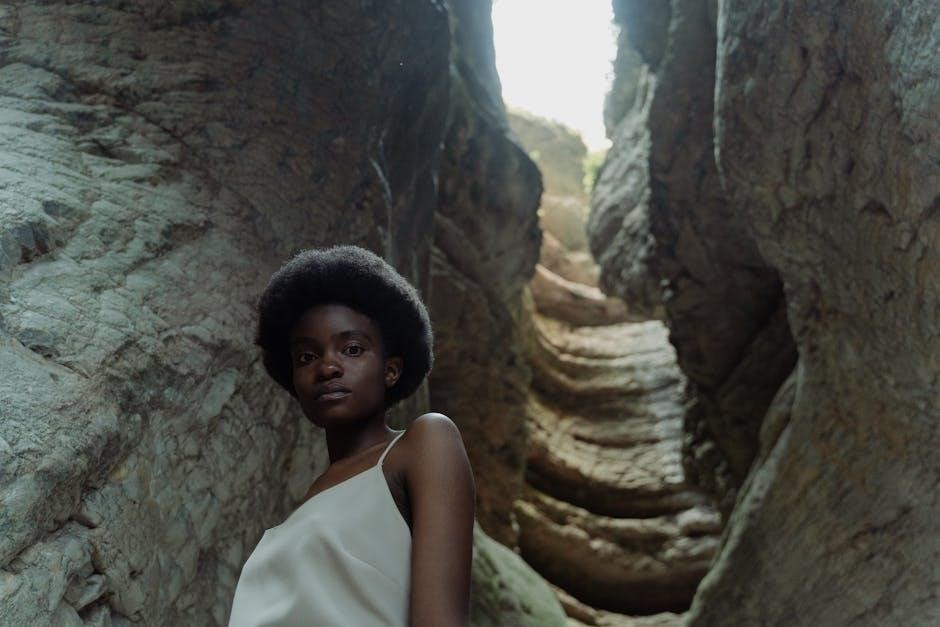
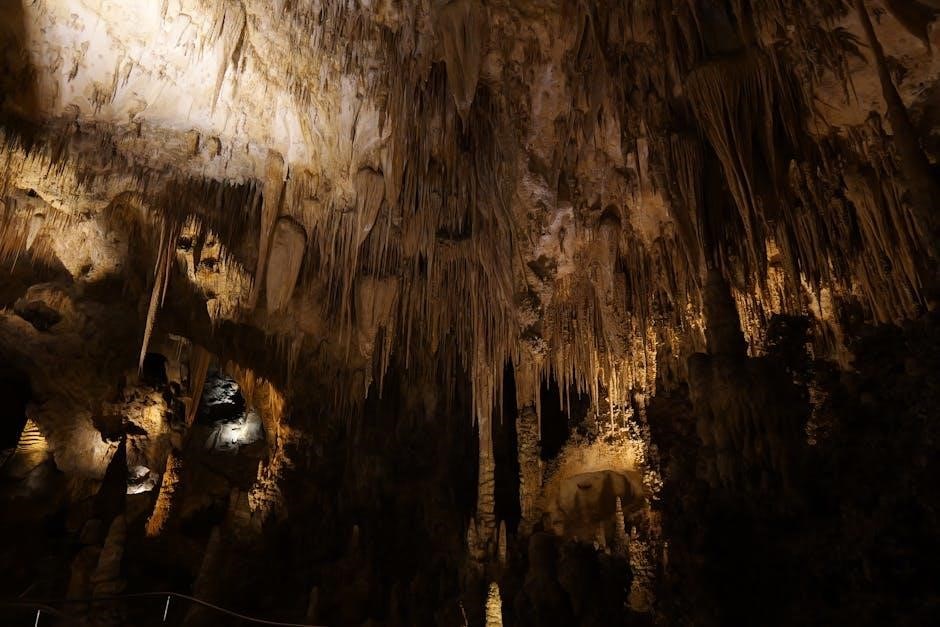
The story unfolds in the picturesque Catskill Mountains during the 18th century, a time of Dutch colonial influence. The quaint villages, with their red roofs and Dutch architecture, create a charming backdrop. Irving vividly describes the Hudson River and the Catskills, evoking a sense of isolation and mystery. The mountains serve as a refuge for Rip, offering a magical atmosphere where his extraordinary journey begins. This historical and geographical setting enhances the tale’s folklore elements, blending reality with fantasy in Irving’s timeless narrative.
4.2. Main Characters: Rip Van Winkle, Dame Van Winkle, and Nicholas Vedder
Rip Van Winkle is the protagonist, a kind-hearted but lazy man escaping his nagging wife, Dame Van Winkle. She represents the voice of responsibility and marital duty, constantly scolding Rip for his idleness. Nicholas Vedder, the village innkeeper, is a silent observer whose pipe-smoking habits convey his mood. These characters drive the story, with Rip’s journey reflecting his desire for freedom and Dame’s frustration embodying societal expectations. Their interactions highlight the tension between personal longing and familial obligations, central to the tale’s enduring appeal.
4.3. The Journey: Rip’s Adventure and 20-Year Sleep
Rip Van Winkle’s journey begins in the Catskill Mountains, where he encounters mysterious men and drinks a magical potion, falling into a deep sleep for 20 years. During this time, he ages dramatically, while the world around him changes rapidly. Upon waking, Rip finds himself unrecognizable to his village, symbolizing the passage of time and personal transformation. His long slumber serves as a metaphor for escapism and the inevitability of change, while his return highlights the clash between past and present, leaving a lasting impact on American folklore.

Themes and Symbolism
The story explores themes of time, transformation, and the supernatural, with the Catskill Mountains and magical drink symbolizing escape and the inevitability of change, enriching American folklore.
5.1. The Theme of Time and Its Passage
Time plays a central role in “Rip Van Winkle,” as the story highlights the passage of years through Rip’s 20-year slumber. This prolonged sleep serves as a metaphor for how life can swiftly change without one’s awareness. Irving uses Rip’s awakening to illustrate the inevitability of time’s progression, showing how the world evolves while individuals may remain static. The story underscores the human experience of losing track of time and the disorientation that can come with it, making it a timeless reflection on mortality and the fleeting nature of human existence.
5.2. The Symbolism of the Catskill Mountains
The Catskill Mountains in “Rip Van Winkle” symbolize isolation, mystery, and the timeless essence of nature. Irving uses the mountains as a backdrop to create a sense of detachment from the outside world, allowing Rip’s extraordinary journey to unfold. The rugged landscape represents both the beauty and the indifference of nature, emphasizing the idea that time stands still in these untouched regions. The mountains also serve as a bridge between reality and fantasy, fostering an atmosphere where the supernatural can occur. This setting underscores the story’s themes of transformation and the enduring power of natural environments.
5.3. The Role of the Magical Drink
The magical drink in “Rip Van Winkle” serves as a catalyst for the story’s central transformation. Offered to Rip by the mysterious mountain spirits, the drink induces a deep, prolonged sleep lasting twenty years. This enchanted potion symbolizes escape and the supernatural, allowing Rip to bypass the responsibilities and hardships of his life. The drink also represents the idea of time standing still, as Rip awakens to a world vastly different from the one he knew. Its role underscores themes of transformation, the passage of time, and the human desire to escape reality, making it a pivotal element in Irving’s narrative.

PDF Version of the Story
The story of Rip Van Winkle is widely available in PDF format, offering readers a convenient way to access this timeless tale. Sources include digital libraries and literary websites, ensuring easy download and reading on various devices. The PDF version preserves the original narrative’s charm, making it a popular choice for both casual readers and scholars. This format allows for seamless access to Irving’s classic, enabling a deeper connection with the story’s themes and characters.
6.1. Availability of “Rip Van Winkle” in PDF Format
The short story of Rip Van Winkle is readily available in PDF format, accessible through various online platforms and digital libraries. Websites like the Digital Library of India and Project Gutenberg offer free downloads, ensuring easy access for readers worldwide. Additionally, many literary websites and educational resources provide PDF versions of the story, often accompanied by additional notes and introductions. This widespread availability makes it simple for anyone to discover and enjoy Washington Irving’s timeless tale in a convenient digital format.
6.2. Sources for Downloading the PDF
Several reliable sources offer free PDF downloads of Rip Van Winkle. Project Gutenberg, a renowned digital library, provides the story in multiple formats, including PDF; Additionally, the Digital Library of India and Google Books host free PDF versions of Washington Irving’s The Sketch Book, which includes the tale. Other platforms like Scribd and educational websites also offer easy access to the PDF version. These sources ensure that readers can conveniently download and enjoy the story without cost or hassle.
6.3. Benefits of Reading the PDF Version
Reading Rip Van Winkle in PDF format offers several advantages. It allows for easy access on various devices, making the story portable and convenient. The PDF version preserves the original formatting and readability, ensuring an immersive experience. Additionally, it enables users to highlight and annotate key passages, aiding in study or analysis; The digital format also reduces the need for physical storage, making it environmentally friendly. Furthermore, free PDF downloads from reputable sources like Project Gutenberg and Google Books ensure cost-free access to this classic tale, making it accessible to a wide audience worldwide.

Cultural Impact
The availability of Rip Van Winkle in PDF format has enhanced its cultural reach, making it accessible to global readers and fostering its enduring influence on literature and folklore.
7.1. Adaptations of the Story in Film and Theater
Rip Van Winkle’s timeless tale has inspired numerous adaptations, including films, plays, and operas. The story’s themes of transformation and time resonate deeply, making it a popular choice for various mediums. Early silent films captured the essence of Rip’s journey, while modern theater productions bring the character to life with elaborate stage designs. These adaptations not only preserve the story’s legacy but also introduce it to new audiences, ensuring its relevance across generations and cultural boundaries. The enduring appeal of Rip Van Winkle continues to inspire creative reinterpretations.
7.2. Influence on American Folklore
Rip Van Winkle has become a cornerstone of American folklore, blending Dutch colonial heritage with early national identity. The tale’s magical elements and timeless themes resonate deeply, shaping cultural narratives. Irving’s storytelling crafted a symbol of escape and transformation, embedding the character into the nation’s collective memory. The story’s enduring appeal lies in its ability to reflect American values and folklore, making it a cherished part of the country’s literary legacy. Its influence continues to inspire new adaptations and interpretations, ensuring its place in the cultural landscape.

7.3. The Story’s Legacy in Modern Times
Rip Van Winkle’s legacy endures as a cultural icon, with its themes of time, transformation, and identity resonating in modern media. The story’s availability in PDF formats has made it accessible to new generations, ensuring its relevance. Adaptations in film, theater, and literature continue to captivate audiences, while its influence on American folklore remains profound. The tale’s timeless appeal lies in its universal themes, making it a staple in educational curricula and popular culture. Its enduring legacy is a testament to Irving’s masterful storytelling, ensuring Rip Van Winkle’s place in the modern cultural landscape.
Rip Van Winkle’s story remains a timeless tale of transformation and wonder, accessible in PDF formats for modern readers to enjoy its enduring themes and cultural significance.
8.1. Summary of Key Points
Rip Van Winkle, a short story by Washington Irving, is a timeless tale of a man who sleeps for twenty years, waking to a transformed world. The story, part of The Sketch Book, blends folklore and fantasy, exploring themes of time, identity, and societal change. Its enduring appeal lies in its universal themes and memorable characters. The story is widely available in PDF format, making it accessible to modern readers. Irving’s work remains a cornerstone of American literature, influencing culture and folklore for generations.
8.2. Final Thoughts on the Story’s Enduring Appeal
Rip Van Winkle’s enduring appeal lies in its universal themes and timeless narrative. The story transcends generations, captivating readers with its magical realism and relatable protagonist. Irving’s mastery of blending folklore and humor ensures its relevance in modern times. The PDF version allows easy access, preserving the tale’s charm for new audiences. Its exploration of identity, time, and societal change resonates deeply, making it a beloved classic in American literature. The story’s legacy continues to inspire adaptations and reflections, ensuring its place in cultural history for years to come.
8.3. Recommendations for Further Reading
For deeper exploration, readers can access the PDF version of “Rip Van Winkle” through digital libraries like the one by José Menéndez. Additionally, Washington Irving’s The Sketch Book offers more timeless tales, such as “The Legend of Sleepy Hollow.” Exploring these works provides insight into Irving’s contributions to American folklore. The story’s themes and symbolism can also be studied in academic analyses available online. For a modern perspective, adaptations of “Rip Van Winkle” in film and theater are worth exploring, offering fresh interpretations of this classic narrative.