
General Electric Spectra Oven Manual: A Comprehensive Guide
Navigating your GE Profile Spectra oven is simplified with its detailed manual, offering instructions for features like QuickClean and glass touch controls.
Understanding Your GE Spectra Oven
Your GE Profile Spectra oven represents a significant investment in cooking technology, and a thorough understanding of its capabilities is key to maximizing its performance and longevity. This oven isn’t simply an appliance; it’s a sophisticated system designed for precision and convenience. The manual serves as your primary resource, detailing everything from basic operation to advanced features like self-cleaning and specialized baking modes.
Familiarizing yourself with the oven’s components – both interior and exterior – is crucial. The GE Spectra boasts a porcelain-enameled interior, known for its durability and ease of cleaning. The glass touch controls offer a sleek, modern interface, but require specific cleaning techniques to maintain their responsiveness. Understanding the function icons, as outlined in the manual, unlocks the full potential of your oven, allowing you to tailor cooking settings to specific recipes and desired results.
Ultimately, the manual empowers you to troubleshoot minor issues and perform routine maintenance, ensuring years of reliable service.
Model Number Location
Locating your GE Profile Spectra oven’s model number is essential for accessing the correct documentation, ordering replacement parts, or contacting customer support. This unique identifier ensures you receive assistance tailored to your specific appliance configuration. Typically, the model number can be found on a label affixed to the oven frame.
Specifically, check the area around the oven door opening. Often, a sticker is placed on the side wall of the oven cavity when the door is fully opened. Alternatively, the model number may be located on the back panel of the oven itself, requiring you to carefully pull the appliance away from the wall. The label will contain several pieces of information, including the model number (e.g., JGBP30WEA4WW) and the serial number.
Having this information readily available streamlines any service requests or inquiries you may have regarding your GE Spectra oven.
Accessing the Manual (PDF)
Obtaining a digital copy of your GE Profile Spectra oven manual in PDF format is convenient and readily available. Several online resources host these documents, allowing you to download and view them on your computer, tablet, or smartphone. A quick internet search using your oven’s specific model number (e.g., JGBP30WEA4WW) combined with “manual PDF” will yield relevant results.
GE’s official website is a primary source for manuals. Many appliance parts retailers also provide downloadable PDFs for various GE models. These manuals typically contain 56 pages of detailed information, covering everything from safety precautions and feature overviews to troubleshooting guides and warranty details.

Downloading the PDF ensures you always have access to the information, even without an internet connection, making it a valuable resource for oven operation and maintenance.
Safety Precautions
Prioritizing safety is paramount when operating your GE Profile Spectra oven. The manual emphasizes several crucial precautions to prevent injury or damage. Always ensure the oven is disconnected from the power supply before performing any maintenance or cleaning, particularly during self-clean cycles.
Never use harsh abrasives or scouring pads on the glass touch controls or porcelain-enameled interior, as these can cause scratches and potential electrical hazards. Exercise extreme caution during and after the self-cleaning process, as the oven reaches extremely high temperatures.
Keep flammable materials away from the oven’s vicinity. Supervise children when the oven is in use. If the self-cleaning mode malfunctions, immediately turn off the oven and disconnect the power. Refer to the manual for detailed safety guidelines and warnings.
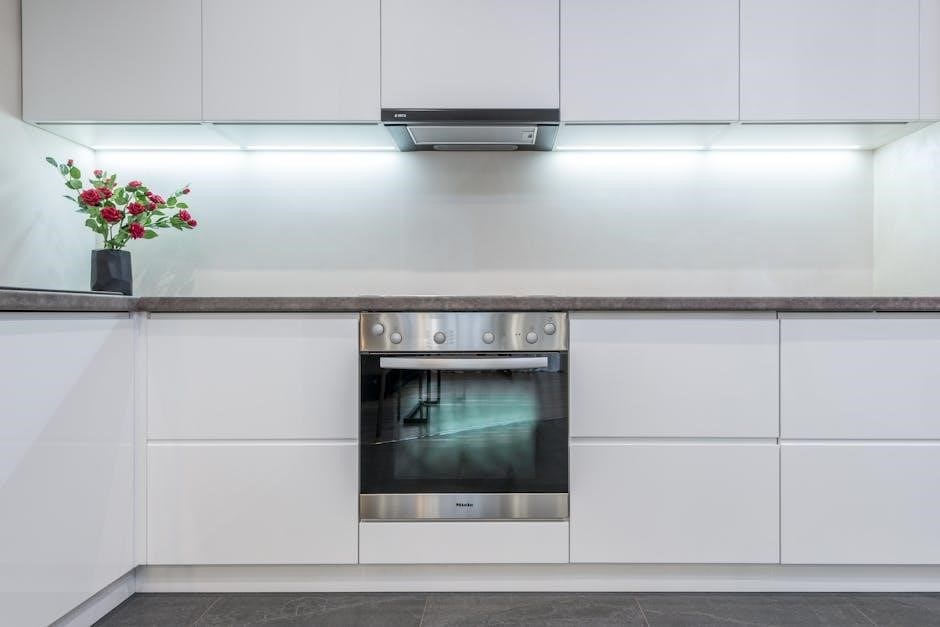
Oven Features Overview
The GE Profile Spectra oven boasts a range of advanced features designed for optimal cooking performance. Key highlights include the QuickClean feature, simplifying oven maintenance, and intuitive glass touch controls for precise temperature and function selection. The porcelain-enameled interior ensures durability and ease of cleaning.
Various baking and broiling functions cater to diverse culinary needs, offering versatility in meal preparation. The oven’s self-cleaning mode provides a convenient solution for eliminating baked-on residue. Understanding the oven function icons, clearly illustrated in the manual, is crucial for maximizing its capabilities.
The manual details each feature, explaining its purpose and proper usage. From standard bake to convection options, the GE Spectra oven aims to deliver consistent and reliable results.
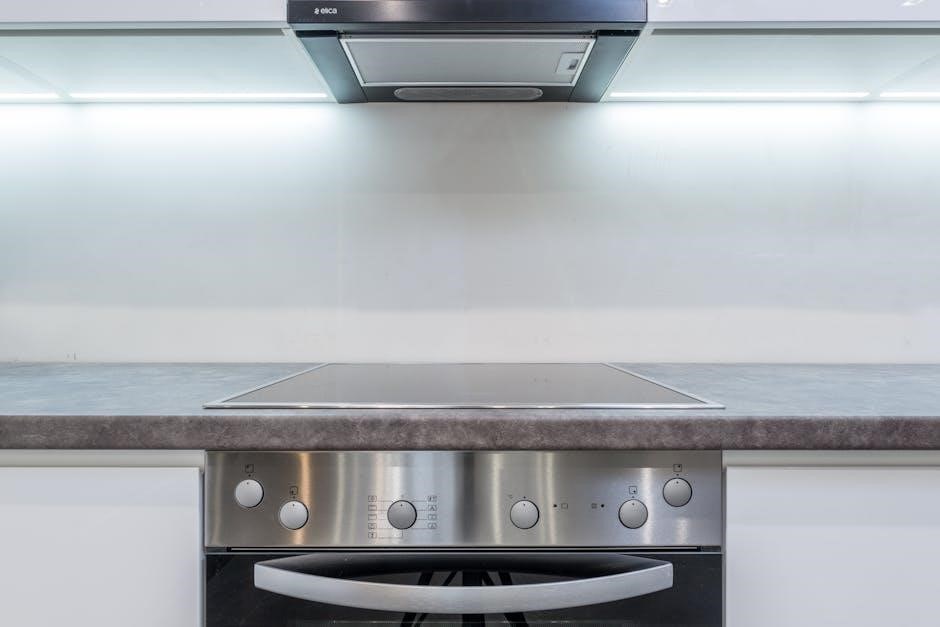
Control Panel Functions
The GE Profile Spectra oven’s glass touch control panel offers a sleek and user-friendly interface. It allows for precise temperature adjustments, selection of various oven functions – including bake, broil, and convection – and programming of cooking times. The manual provides a detailed explanation of each icon and its corresponding function.
Key functions accessible through the control panel include the self-clean mode activation, timer settings, and QuickClean options. The panel’s responsiveness ensures accurate input, while the clear display provides real-time feedback on oven status. Understanding the control panel is essential for effectively utilizing the oven’s capabilities.

The manual illustrates the panel layout and explains how to navigate its features, ensuring a seamless cooking experience.
Oven Interior Components
The GE Profile Spectra oven boasts a porcelain-enameled interior, designed for easy cleaning and durability. Key components include the oven racks, which are adjustable to accommodate various dish sizes, and the bake element located at the bottom of the cavity, responsible for consistent heating. The broil element, positioned at the top, delivers intense, direct heat for browning and searing.
The oven’s interior also features a temperature probe port for precise cooking, and a convection fan for even heat distribution. Understanding the location and function of each component is crucial for optimal performance. The manual provides detailed diagrams illustrating these parts.
Proper care of the porcelain-enameled interior, as outlined in the manual, ensures longevity and maintains the oven’s pristine condition.
Using the Oven
The GE Profile Spectra oven offers a versatile range of cooking functions, all detailed within the comprehensive manual. Before operation, ensure the oven is properly connected and the control panel is responsive. Familiarize yourself with the oven function icons, which clearly indicate each mode’s purpose – baking, broiling, convection, and self-cleaning.
To begin, select your desired function using the glass touch controls. Set the temperature and cooking time, and press ‘Start’. The manual provides guidance on optimal settings for various recipes. For precise cooking, utilize the temperature probe. Always refer to the manual for specific instructions on each function.
Remember to preheat the oven for consistent results, and always use oven-safe cookware.
Baking Functions
The GE Profile Spectra oven boasts several baking functions, each designed for specific culinary needs. Conventional bake is ideal for standard recipes, circulating heat evenly for consistent results. Convection bake utilizes a fan to distribute heat, reducing cooking time and ensuring uniform browning – perfect for cookies and pastries.
The manual details how to utilize these functions effectively, including recommended temperature adjustments for convection baking. Explore options like multi-rack baking for increased capacity. Precise temperature control is crucial; the manual emphasizes the importance of accurate oven calibration for optimal baking performance.
For delicate items, consider using the ‘Proof’ setting for dough rising. Always consult the manual for specific baking times and temperatures based on your recipe.
Broiling Functions
The GE Profile Spectra oven offers versatile broiling options for achieving perfectly browned and crisped dishes. Standard broiling utilizes the upper heating element for intense, direct heat, ideal for searing meats and browning casseroles. The manual provides guidance on proper rack positioning for optimal broiling results – closer for searing, further for slower cooking.
For more even broiling, explore the ‘Variable Broil’ function, which cycles the heating element on and off to prevent burning. Always monitor food closely during broiling, as it cooks rapidly. The manual stresses the importance of using broiling pans designed to catch drippings and prevent flare-ups.
Remember to preheat the oven before broiling and adjust cooking times based on the thickness of the food. Consult the manual for specific recommendations.
Self-Cleaning Mode
The GE Profile Spectra oven features a self-cleaning mode designed for effortless maintenance. Before initiating the cycle, the manual instructs users to remove all cookware, baking stones, and any loose debris from the oven interior. Ensure the oven door can lock securely – a crucial safety feature.
Select the desired cleaning cycle length; options typically include light, medium, and heavy soil levels. The oven door will automatically lock during the high-temperature cleaning process, and remain locked until cooled. Avoid opening the door manually during operation.
If the self-cleaning mode malfunctions, immediately turn the oven off and disconnect the power supply. The manual advises against attempting repairs yourself and recommends contacting GE’s customer support for assistance. Proper ventilation is essential during and after the cycle.
Troubleshooting Common Issues
The GE Spectra oven manual provides guidance for resolving frequent problems. If the oven isn’t heating, verify the power supply and check for tripped circuit breakers. Temperature inaccuracies can often be addressed by recalibrating the oven using the control panel, as detailed in the manual.
Control panel malfunctions, such as unresponsive touch controls, may require a power cycle – turning the oven off at the breaker for several minutes. The manual emphasizes avoiding self-repair for complex issues. For persistent problems, consult the troubleshooting section for specific error codes.

Always refer to the manual before attempting any repairs. Contacting GE’s customer support is recommended for issues beyond basic troubleshooting, ensuring safe and effective resolution.
Oven Not Heating
If your GE Spectra oven isn’t heating, the manual directs you to first confirm the power supply. Check if the oven is properly plugged in and if the corresponding circuit breaker hasn’t tripped. A blown fuse is another potential cause, requiring replacement according to the manual’s safety guidelines.
The manual also suggests verifying the oven’s control settings. Ensure a baking or broiling function is selected and the temperature is set correctly. If the display shows an error code, consult the manual’s troubleshooting section for its specific meaning and recommended action.
For continued issues, the manual advises against self-repair and recommends contacting GE’s customer support for assistance from a qualified technician.
Temperature Inaccuracies
The GE Spectra oven manual addresses temperature inaccuracies as a common concern. It first recommends verifying the oven’s calibration. Many models allow for temperature adjustment within the control panel settings; the manual provides step-by-step instructions for this process.

If calibration doesn’t resolve the issue, the manual suggests checking for obstructions within the oven cavity. Items blocking the airflow, like oversized cookware or foil, can disrupt even heating. Ensure proper rack positioning, as indicated in the manual’s cooking guidelines.
Persistent discrepancies may indicate a faulty oven sensor. The manual cautions against attempting to replace the sensor yourself and advises contacting GE’s authorized service for professional diagnosis and repair.
Control Panel Malfunctions
The GE Spectra oven manual details troubleshooting steps for control panel issues. A common first step is a power cycle – disconnecting the oven from the power source for several minutes, then reconnecting. This can resolve minor software glitches.
If the glass touch controls are unresponsive, the manual advises cleaning the surface thoroughly with a recommended cleaner (detailed in the maintenance section). Avoid abrasive cleaners that could damage the sensor.
For more serious malfunctions, such as a completely blank display or error codes, the manual strongly recommends contacting GE’s customer support. Attempting self-repair of the control panel can be dangerous and may void the warranty. Note the specific error code displayed for faster assistance.
Cleaning and Maintenance
The GE Spectra oven manual emphasizes regular cleaning to maintain performance and longevity. For daily upkeep, wipe spills immediately with a damp cloth. Avoid harsh abrasives that can scratch the porcelain-enameled interior.
The manual details the QuickClean feature, designed for lighter cleaning tasks, reducing the need for the self-clean cycle. For more thorough cleaning, a mild dish soap solution is recommended. Always rinse thoroughly to remove any soap residue.
Specific attention should be paid to the glass touch controls, using a dedicated glass cleaner as outlined in the manual. Regular maintenance, as described, prevents buildup and ensures optimal functionality. Refer to the warranty information before using any cleaning products.
Porcelain-Enameled Interior Care
The GE Spectra oven manual highlights the durability of its porcelain-enameled interior, but stresses proper care. Avoid using abrasive cleaners, scouring pads, or sharp objects that could scratch or damage the surface. These can compromise the enamel’s protective qualities.
For routine cleaning, a damp cloth with mild dish soap is recommended. Stubborn spills can be loosened with a paste of baking soda and water, applied gently and rinsed thoroughly. The manual advises against prolonged soaking, which may cause discoloration.
Regular cleaning prevents food buildup, minimizing odors and maintaining oven efficiency. Avoid harsh chemical cleaners not specifically approved for porcelain enamel. Following these guidelines ensures a long-lasting, pristine oven interior.
Glass Touch Controls – Cleaning
The GE Spectra oven manual emphasizes gentle cleaning for the glass touch control panel. Avoid abrasive cleaners, scouring pads, or harsh chemicals, as these can scratch or damage the sensitive surface, impacting functionality.
For everyday cleaning, a soft, damp cloth is sufficient to remove fingerprints and smudges. For more stubborn residue, a specialized glass cleaner – approved for electronic devices – can be used sparingly. Always apply the cleaner to the cloth, not directly onto the control panel.
Ensure the panel is completely dry before operating the oven. Avoid excessive moisture, which could cause electrical issues. Regular, gentle cleaning maintains responsiveness and preserves the sleek appearance of the glass touch controls.
Self-Clean Cycle Troubleshooting
The GE Spectra oven manual provides guidance if the self-clean cycle malfunctions. If the cycle stops prematurely, immediately turn off the oven and disconnect the power supply for safety. Do not attempt to open the oven door until it has cooled completely.
Smoke during self-cleaning is normal, especially during the initial burn-off of food residue. However, excessive smoke warrants immediate attention – ventilate the kitchen and discontinue the cycle. A burning smell could indicate unremoved large food particles.
If the door lock doesn’t release after cooling, consult a qualified technician. Never force the door open. The manual advises against self-cleaning heavily soiled ovens, as this can prolong the cycle and potentially cause damage.
Warranty Information
The General Electric Spectra oven manual details the warranty coverage for your appliance. Warrantor is General Electric Company, Louisville. The warranty typically covers defects in materials and workmanship for a specified period, usually one year from the date of original purchase.
Specific components, like the glass touch controls or oven interior, may have varying warranty lengths. The manual outlines what is covered, including parts and labor for repairs. It also specifies what voids the warranty, such as improper installation, misuse, or unauthorized modifications;
To make a warranty claim, retain your proof of purchase and contact GE’s customer service. The manual provides contact information and instructions for initiating the claim process. Registration of your appliance may be required to activate full warranty benefits.
Contact Information for GE
For assistance with your GE Spectra oven, the manual directs you to several contact points. GE’s website is a primary resource, offering FAQs, troubleshooting guides, and online support. You can find the website address within the manual’s resources section.
GE’s customer service can be reached via phone for direct assistance. The manual provides a toll-free number for appliance support. Be prepared to have your model number (JGBP30WEA4WW for the XL44) and serial number readily available when contacting them.

Additional support is available through GE’s Parts and Service department. The manual details how to order replacement parts or schedule in-home service; You can also find contact information for local authorized service providers through GE’s website.
Technical Specifications
The GE Spectra oven, specifically the XL44 model (JGBP30WEA4WW), boasts several key technical specifications. It’s a 30-inch free-standing electric range featuring QuickClean technology for simplified maintenance. The oven utilizes porcelain-enameled interior components, enhancing durability and ease of cleaning.
Control functionality is managed through glass touch controls, offering a modern and responsive user experience. The oven supports various baking and broiling functions, detailed within the manual. Power requirements and voltage specifications are outlined for safe installation and operation.
Dimensions and weight are provided for proper placement and handling. The manual also includes information regarding the oven’s self-cleaning cycle capabilities and associated energy consumption. Detailed oven function icons are explained, aiding in understanding each setting.
QuickClean Feature Details
The GE Spectra oven’s QuickClean feature offers a simplified cleaning cycle, significantly reducing the time and effort required compared to traditional self-cleaning. This feature utilizes a lower temperature and shorter duration, typically around 20 minutes, making it ideal for lighter cleaning needs.
The manual details how to activate QuickClean, emphasizing the need to remove racks and any large debris beforehand. It’s designed for spills and splatters, preventing buildup and maintaining oven performance. Unlike the self-clean cycle, QuickClean doesn’t lock the oven door, allowing for quicker access.
Users should note that QuickClean is most effective when used regularly, preventing heavy soil accumulation. The manual provides specific instructions regarding ventilation during and after the cycle. It’s a convenient option for maintaining a clean oven interior between more intensive cleaning sessions.
Oven Function Icons Explained
The GE Spectra oven utilizes glass touch controls, displaying various function icons to guide users. The manual dedicates a section to deciphering these symbols, ensuring optimal cooking performance. Common icons include ‘Bake’ for standard baking, ‘Broil’ for high-heat searing, and ‘Convection Bake’ for even heat distribution.
Specific icons represent specialized functions like ‘Proof’ for dough rising, ‘Keep Warm’ to maintain food temperature, and ‘Self-Clean’ for automated cleaning. The manual provides detailed explanations of each function’s purpose and recommended settings. Understanding these icons unlocks the oven’s full potential.
Furthermore, the manual clarifies icons related to temperature control, timer settings, and child lock features. It emphasizes the importance of referencing the icon guide for accurate operation, preventing cooking errors and maximizing user convenience. A clear understanding of these symbols is crucial for effortless oven use.

Additional Resources
Beyond the comprehensive manual, GE offers a wealth of support for your Spectra oven. The official GE Appliances website provides access to frequently asked questions, video tutorials, and downloadable manuals for various models, including the XL44 (JGBP30WEA4WW). These resources address common issues and offer troubleshooting guidance.
GE’s customer service is readily available via phone and online chat, providing expert assistance with any oven-related concerns. Online forums and communities dedicated to GE appliances offer a platform for users to share experiences and solutions. Warranty information and contact details for GE are also easily accessible.
Furthermore, authorized GE service centers can provide professional repairs and maintenance. Exploring these additional resources ensures you have ongoing support and maximizes the lifespan of your GE Spectra oven, guaranteeing optimal performance and satisfaction.